.png)
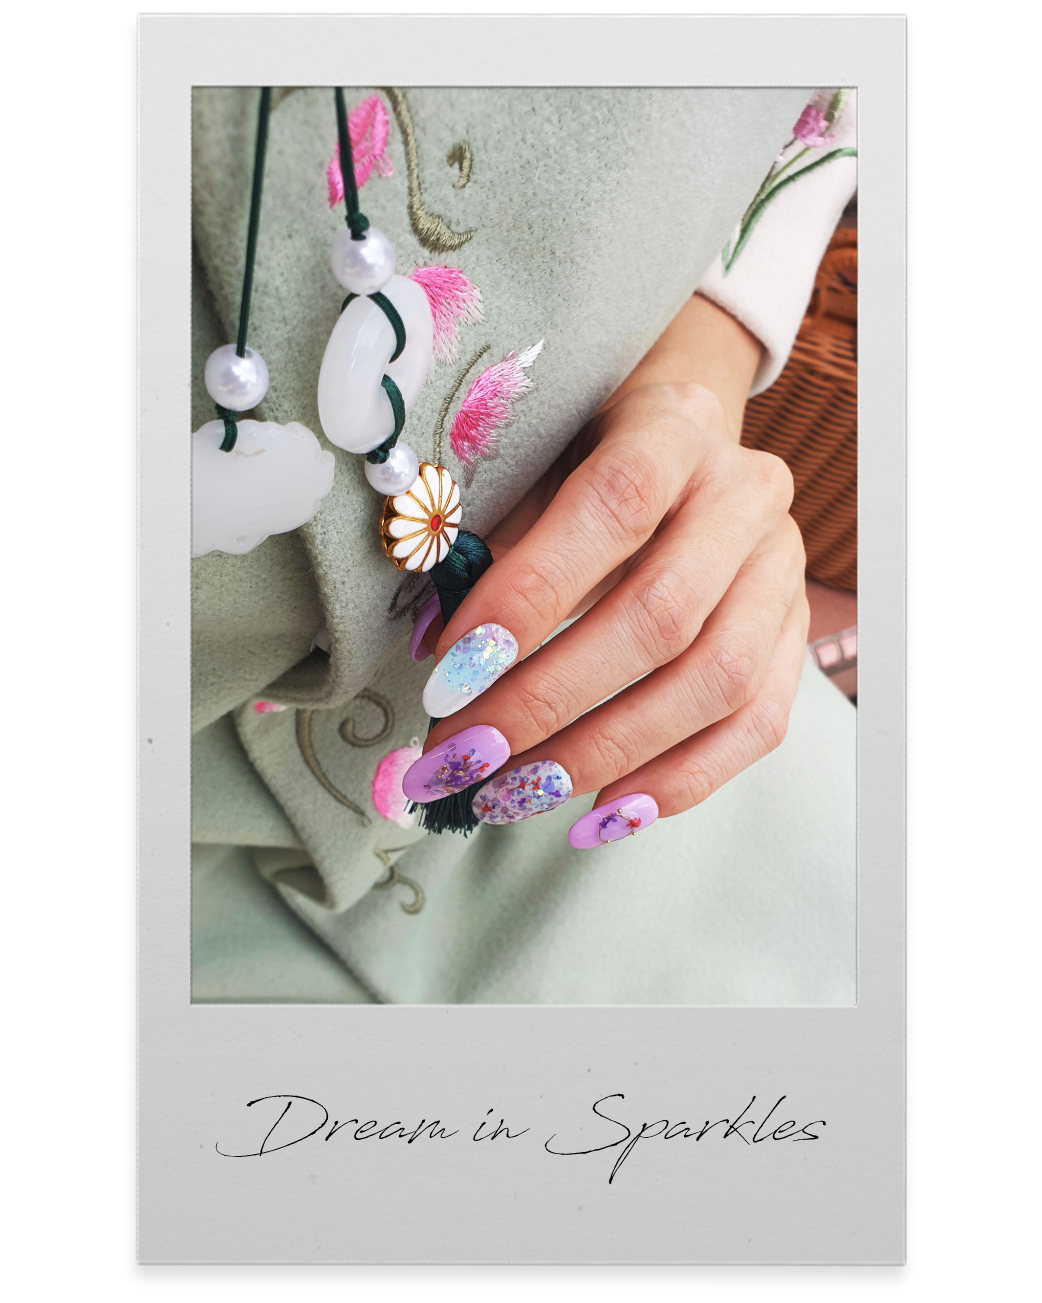
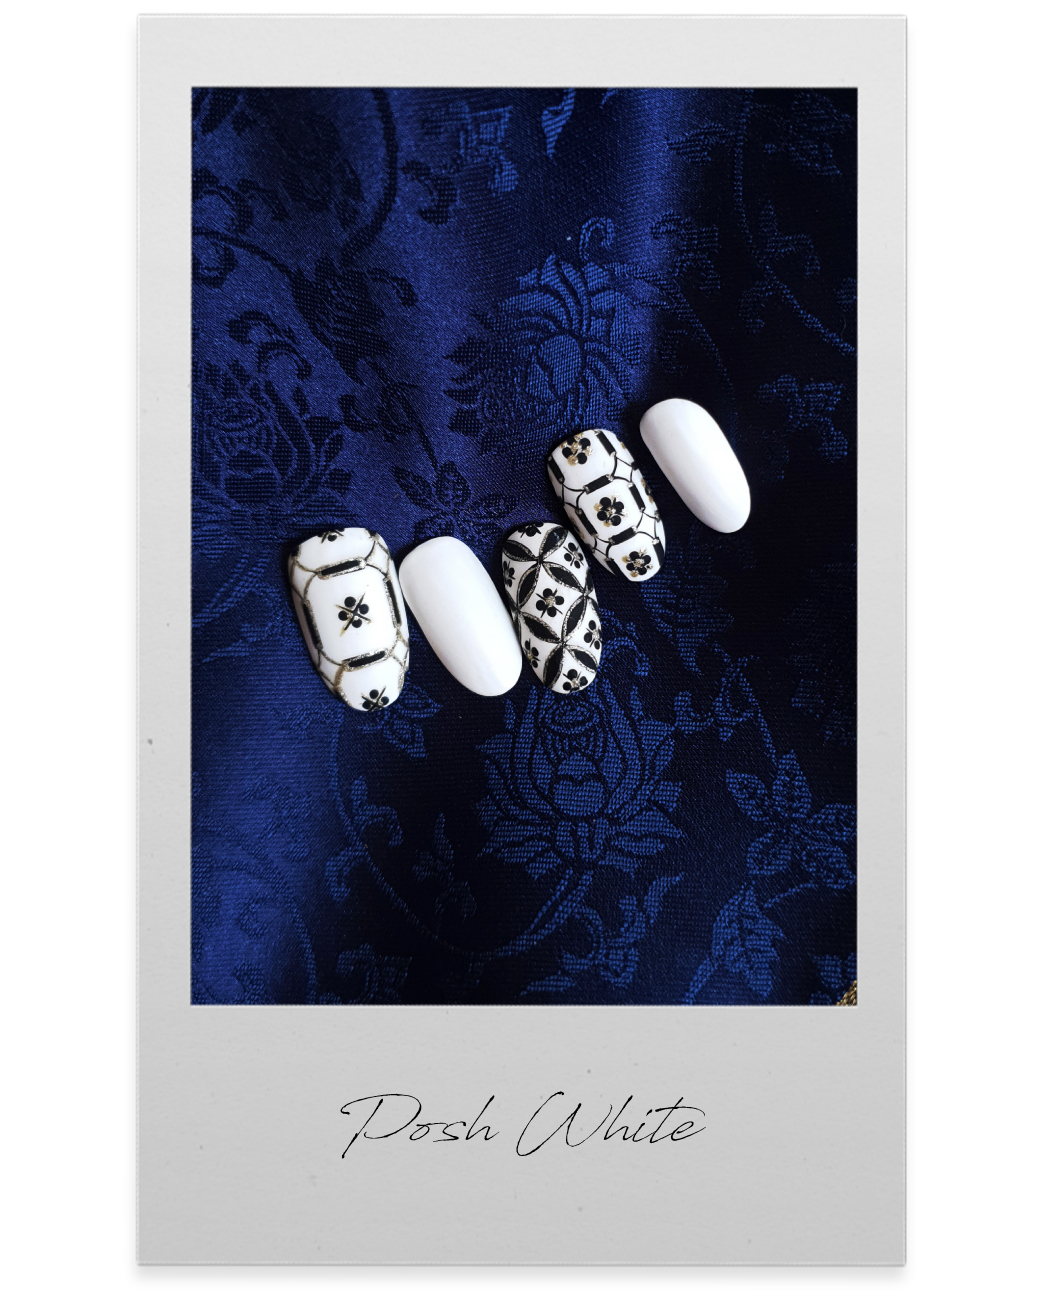
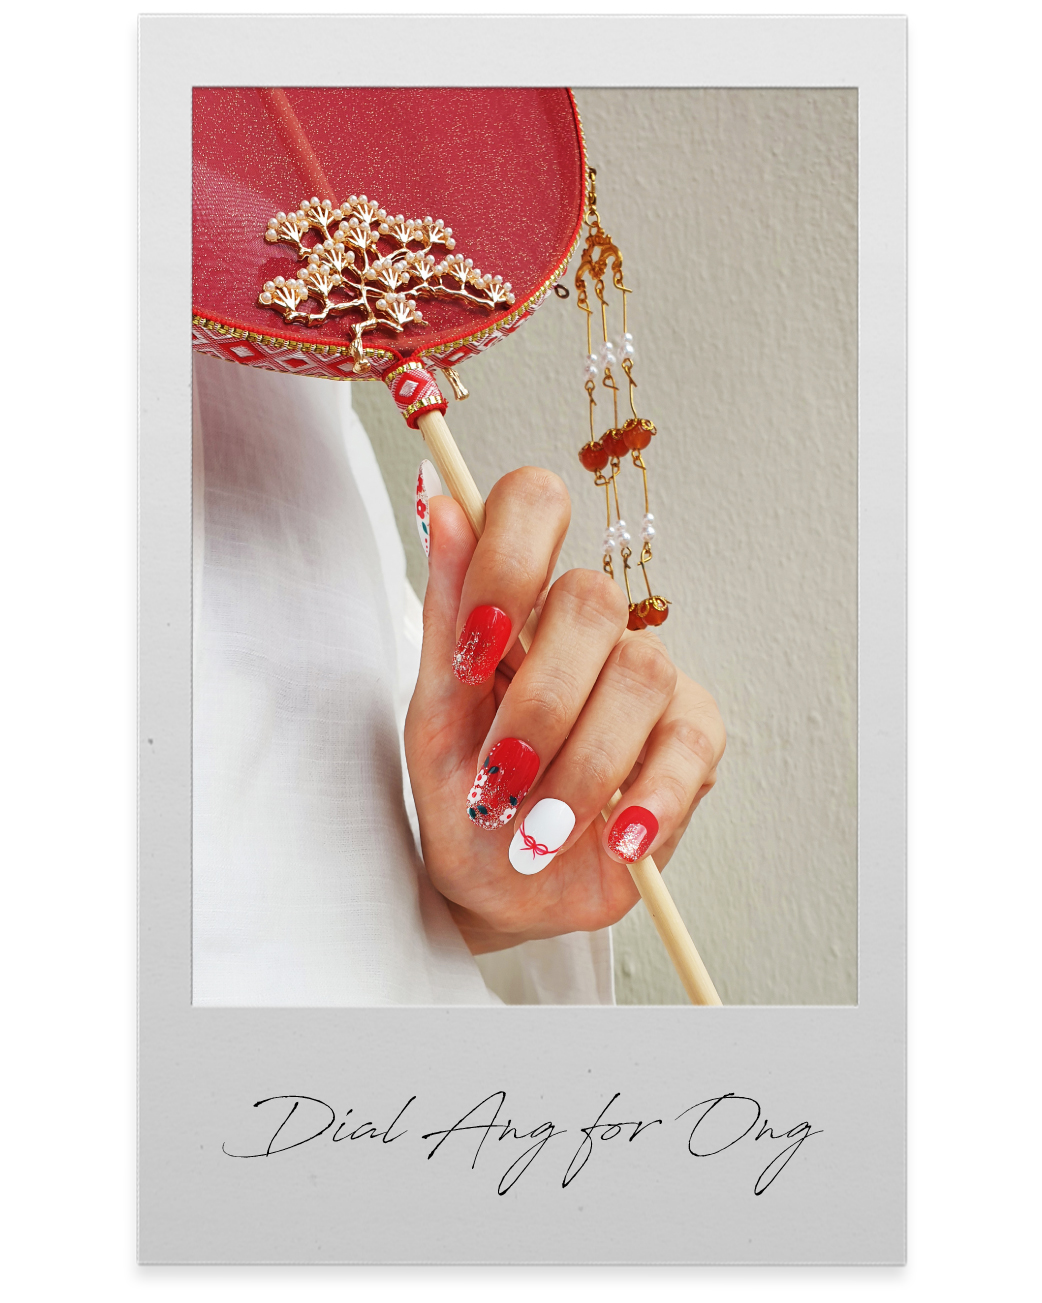
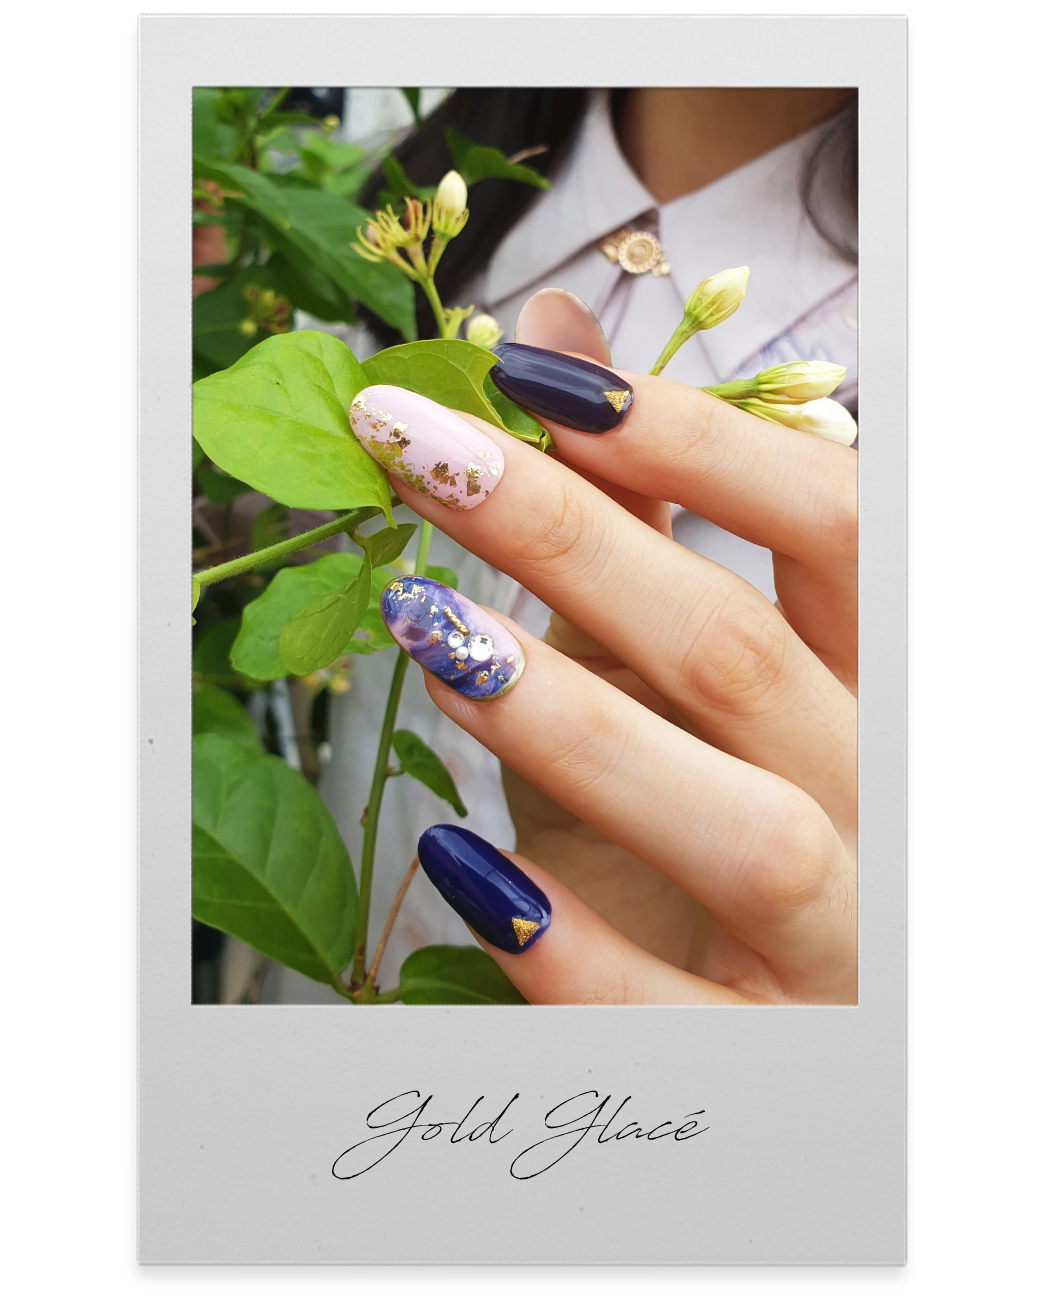
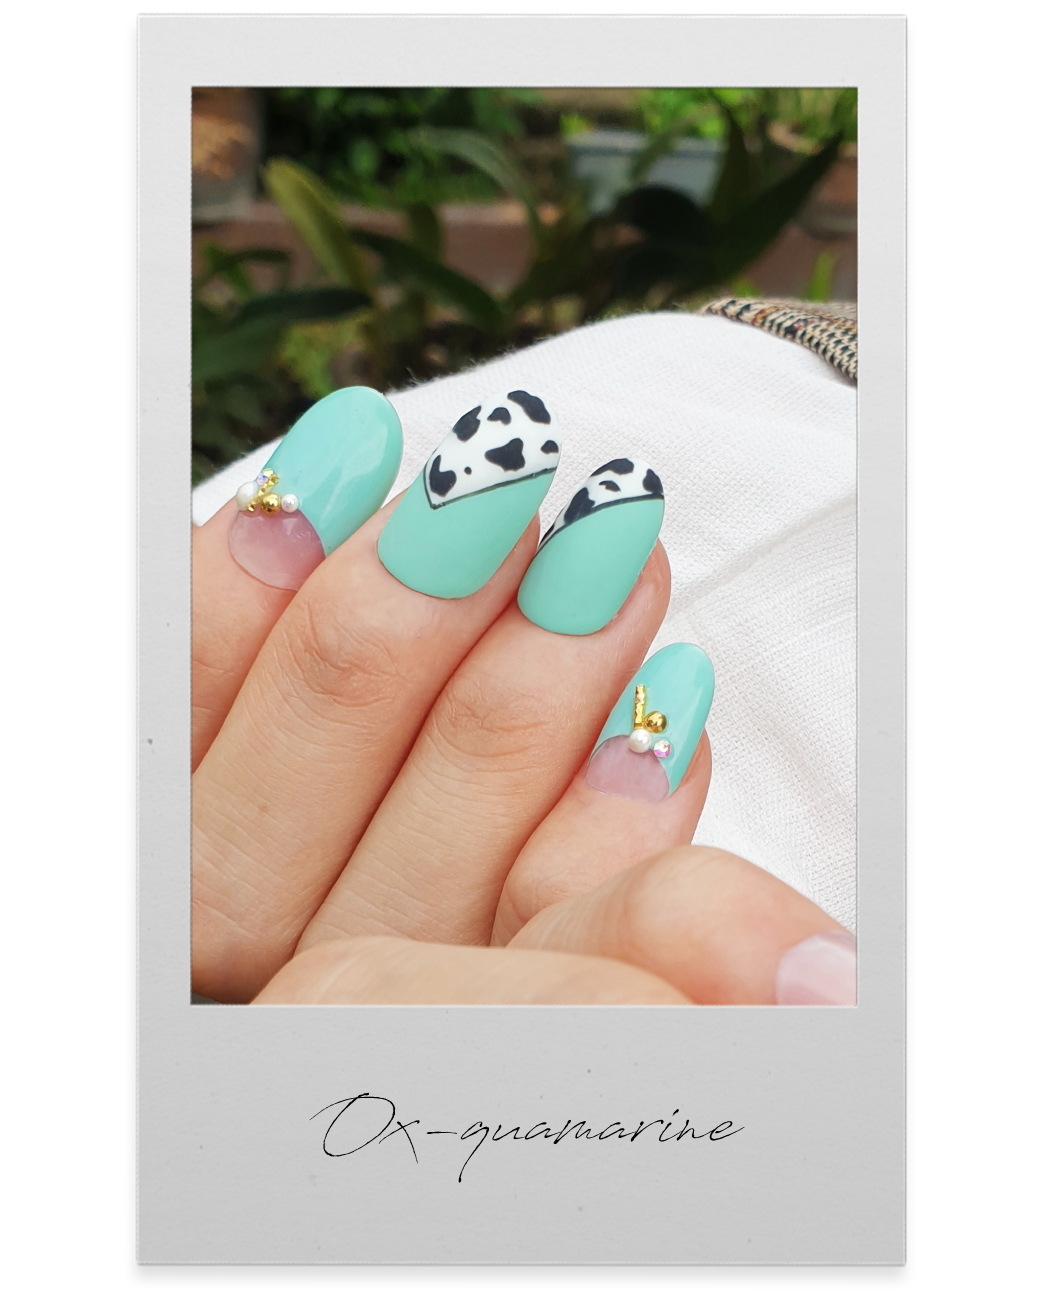
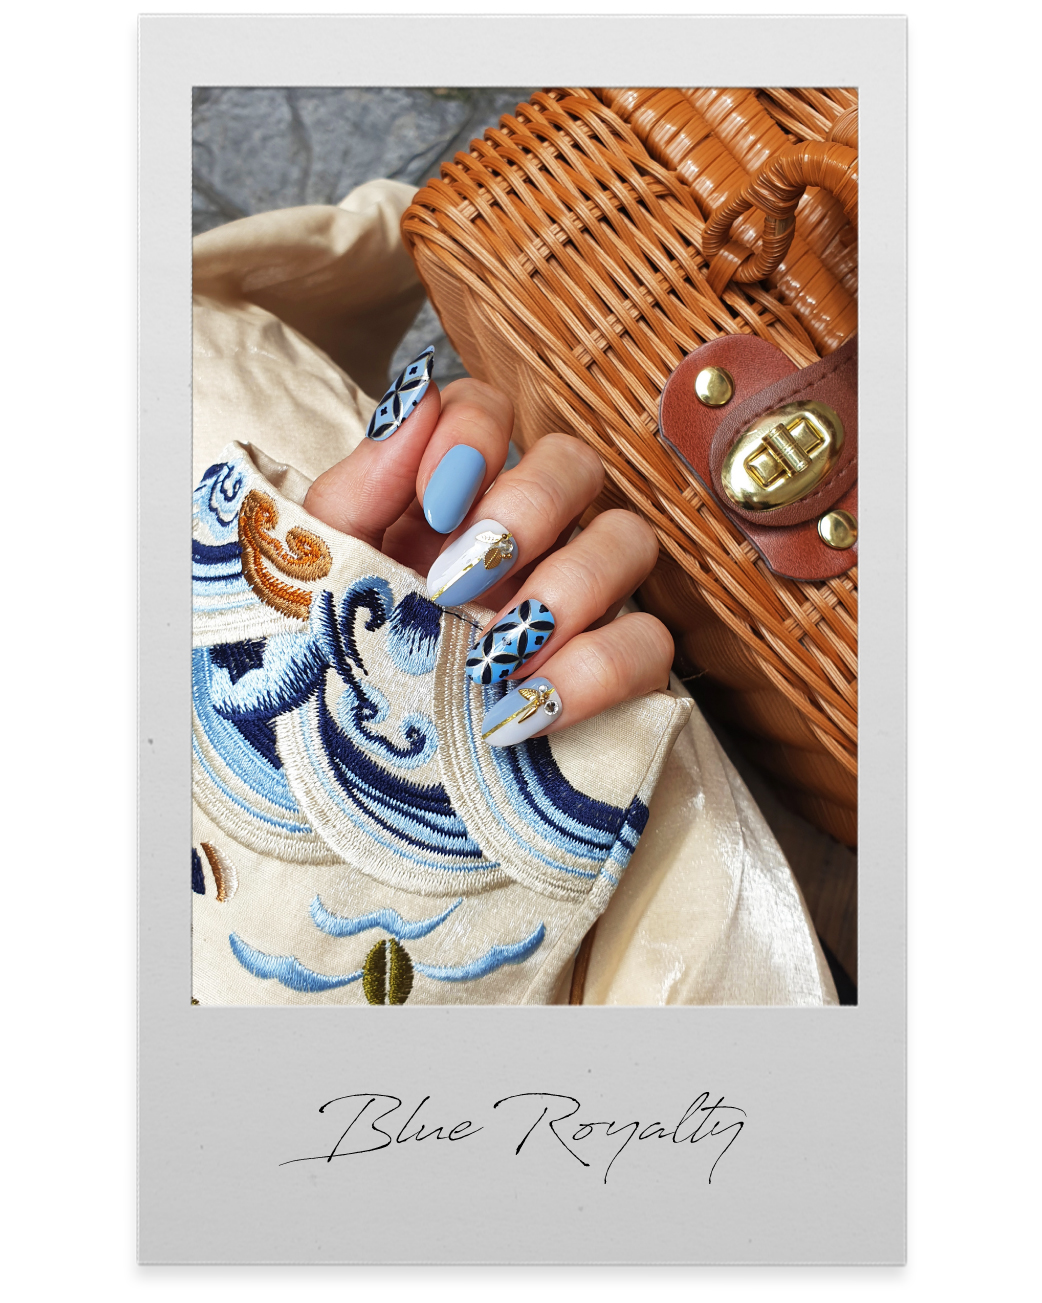
Before Covid-19, we were used to the idea of ‘new year, new nails, new everything’! But as nail salons aren’t allowed to operate during this period, most of them are left in a pickle. However, the nail artists at POSH Nail Spa took this opportunity to sharpen their creativity in nail designing, which resulted in this ‘Posh-perous MCO’ (that’s ‘Make CNY Ong!’) series that you can easily DIY before the ox-picious new year arrives! Check them out below:
Before Covid-19, we were used to the idea of ‘new year, new nails, new everything’! But as nail salons aren’t allowed to operate during this period, most of them are left in a pickle. However, the nail artists at POSH Nail Spa took this opportunity to sharpen their creativity in nail designing, which resulted in this ‘Posh-perous MCO’ (that’s ‘Make CNY Ong!’) series that you can easily DIY before the ox-picious new year arrives! Check them out below:


The POSH Nail Spa MCO Design Kit comes with 18 pieces of press-on nails in various sizes, nail tape (24 tapes in various sizes), nail glue, nail file, an orange stick and 2 alcohol-soaked cleansing pads. Follow these easy steps below to attach and remove the press-on nails.
How to apply press-on nails:
Step 1: Use a nail file to shape your nails and lightly buff the nail surface for better adherence.
Step 2: Though optional, it’s advisable to gently push your cuticles back using the orange stick.
Step 3: Clean the surface of your nails with a cleansing pad to make sure that they are clean from dust and oil.
If you’re using a nail tape:
Step 1: Stick the nail tape according to the size of your nail. Keep a 2mm distance from the cuticles for better adherence and don’t remove the film.
Step 2: Find the right press-on nail size for each nail. Remove the nail tape film, hold the press-on nail tip onto the nail and push it as close to the cuticle as you can. Press down for at least 30 seconds.
Step 3: Repeat Step 2 on the other nails and you’re done!
TIP! It’s advisable to do one nail at a time so as to avoid the nail tape being exposed to the air for too long. Take your time and make sure that you press them all in equal time.
If you’re using a nail glue:
Step 1: Get the correct press-on nail tips ready according to your nail size.
Step 2: Apply the nail glue on your nail and the back of the nail tip, making sure to do one nail at a time.
Step 3: Place the nail tip on your nail and press down for at least 30 seconds to avoid any air bubble from forming.
Step 3: Repeat Step 3 on the other nails and you’re done!
TIPS!
1. Make sure that you’re not wearing any nail polish as it will make press-on nails harder to stick on to or last.
2. By pushing back the cuticles, you can avoid the nail tape or nail glue from sticking to your skin.
3. Avoid applying glue at the protruding end of the nail tip (the part that’s not going to stick onto your nail surface).
4. Ensure that the nail tip isn’t crooked when you’re sticking it on, as nail glue dries quickly.
5. The nail tip cannot be reused if you’ve used the nail glue to stick it on.
6. To reuse press-on nails with the nail tape, simply remove the old nail tape and apply a new one!
FUN FACT!
Your press-on nails will last for 1-2 days with the nail tape and 5-7 days with the nail glue.
To remove press-on nails, follow these steps:
Step 1: Soak your hand in warm water for at least 10 minutes. You can add soap in the water to ease the removal process.
Step 2: Look for any detached corner. Using the orange stick, gently floss underneath the nail tip.
Step 3: If the nail tip isn’t coming off, soak it in water for another 5 minutes. Apply cuticle oil around the corner of the nail tip to help soften the nail glue or tape.
Step 4: Buff away any rough surface with a nail file. You can remove any leftover glue with the cleansing pad or nail polish remover.
Step 5: Wash your hands and apply hand cream followed by cuticle oil to nourish your skin and nails.
The POSH Nail Spa MCO (Make CNY Ong!) designs are available from now till the end of February. Each full-colour set retails for RM88, while customised designs start from RM98, and every order takes 3-5 days to complete. Delivery can be arranged (subject to extra charges) or you can opt to pick your order up at any POSH outlet (SS2 or TTDI). Any order before 12th February comes with a complimentary POSH-perous Cookie! Even better: part of the proceeds from the sale of this series will go to the Mikhalai School of Destiny to help provide basic necessities for the children.
To customise your press-on nails, contact 0126128219 (10am–7pm) or DM @poshnailspa.my.
Photography & styling: Rachel Yap/POSH Nail Spa
Nail art: Cha Yee, Kate Lim, Mandy Lim & Ming Fong/POSH Nail Spa
Coordination & model: Melissa Chu/POSH Nail Spa
Outfits & props: Stylist’s own
